Step aside, supermarket shelves! We’re diving headfirst into the nutty nirvana of homemade nut butters, where you, the blender-wielding virtuoso, will transform humble ingredients into creamy, soul-satisfying masterpieces. Forget additives and preservatives; with these 15 pro tips, you’ll unlock the deepest flavors and textures your nuts have to offer:
Roast to Perfection:
- Temperature Matters: 350°F is your magic number! Spread your chosen nuts on a baking sheet and toast for 10-15 minutes, watching for golden brown edges. This awakens their natural oils and creates a dream-blending experience.
- Team Peel or Team Naked? It’s your call! Peeling removes a touch of bitterness, but it’s an extra step. Almonds and cashews? Peel for pure silkiness. Peanuts and pecans? Embrace the rustic charm of skin-on texture.
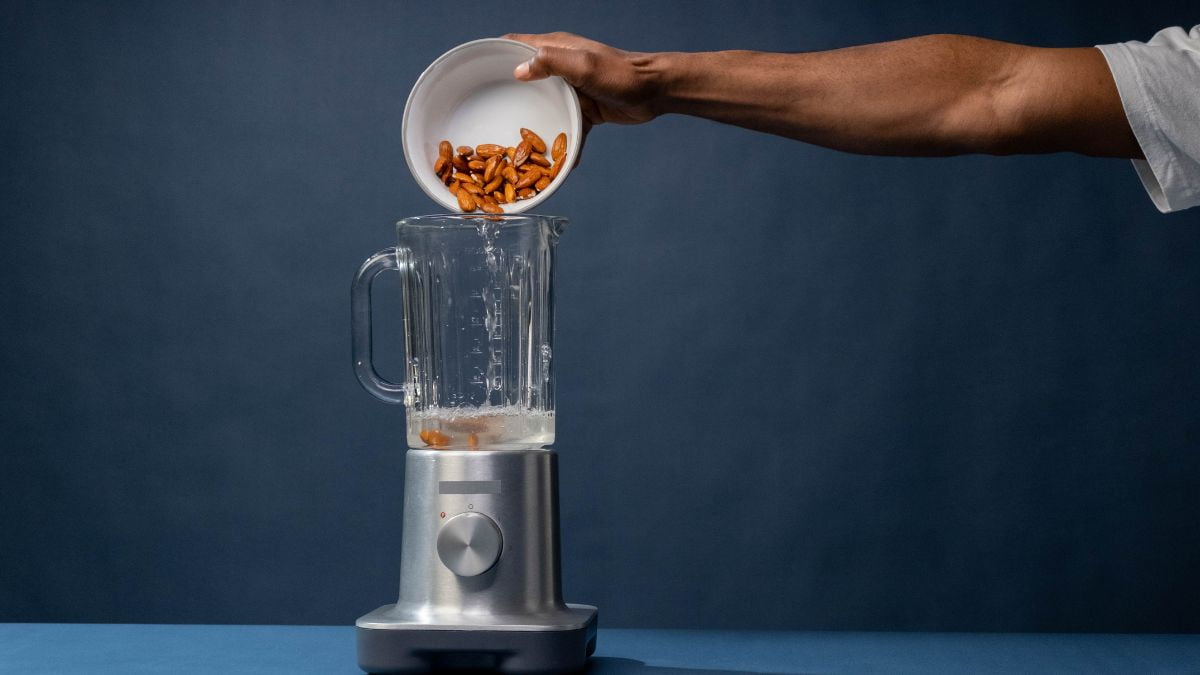
Blending Bliss:
- Pulse Power: Ditch the continuous blend! Short, controlled pulses are your best friend. They prevent over-blending and that dreaded oil separation, guiding you to creamy nirvana one pulse at a time.
- Fat is Your Friend: Don’t be shy! Neutral oils like avocado or grapeseed add a touch of magic, creating a smooth, spreadable texture. Start with a teaspoon and add more if needed – remember, a little goes a long way.
Flavor Fusion:
- Sweet Nothings (Optional): Honey, maple syrup, or even a touch of dates can add a whisper of sweetness and depth. Experiment! Cinnamon and vanilla are classic companions, but don’t be afraid to get adventurous with berries or spices.
- Spice Up Your Life: Go beyond creamy! Elevate your nut butter with spices like smoked paprika for a smoky kick, cayenne pepper for a fiery twist, or even a pinch of garam masala for an Indian adventure.
Nutty Beyond the Basics:
- Think Outside the Peanut: Almonds, cashews, pecans, sunflower seeds, even tahini – the possibilities are endless! Blend solo or create your own bespoke nut butter blends for a flavor explosion.
- Go Global: Craving Thai vibes? Blend peanuts with chilies and ginger. Dreaming of Italian? Infuse cashews with rosemary and garlic. The world is your nut butter oyster!
Storage Savvy and Cleaning Champions:
- Pantry Perfection: Transfer your masterpiece to an airtight container and store it in the pantry for up to two weeks. Label it with the date and flavor notes – you’re a nut butter artist now!
- Cleaning Up the Fun: Don’t let post-blending blues steal your nutty joy! Fill your blender halfway with warm water and dish soap, pulse, and rinse. Tough residue? Soak the blades in baking soda solution.
Bonus Tips for Nutty Nirvana:
- Cacao Crunch: Add a handful of cacao nibs for a chocolatey surprise.
- Protein Power: Sprinkle in chia seeds for an extra protein boost.
- Veggie Vibes: Go green with a handful of kale or spinach for a hidden veggie champion.
- Nut Butter Ice Cream: Blend frozen fruit and your favorite nut butter for a healthy, homemade frozen treat.
- Invest in Power: For tougher nuts and smoothest textures, consider a high-quality blender with a strong motor.
Nut Butter Nirvana: Delving Deeper into Flavor Fusion & Textural Twists
Mastered the basics and ready to spiral down the rabbit hole of nut butter alchemy? Buckle up, nutty adventurers, because we’re about to explore advanced techniques that’ll transform your creations from good to utterly mind-blowing:
Flavor Fusion Frenzy:
- Beyond Sweet and Spicy: Don’t stop at vanilla or cayenne! Think savory with smoked paprika and garlic, earthy with roasted mushrooms and herbs, or even tropical with mango and ginger.
- Spice Blends: Craft your own signature blends! Toast whole spices like coriander, cumin, and chilies in your blender to release their oils and create custom blends for smoky, Moroccan-inspired nut butters or fiery Thai-infused creations.
- Infused Oils: Take your basic oil to the next level! Infuse avocado oil with sun-dried tomatoes for a Provençal twist, or grapeseed oil with fresh herbs for a garden-fresh flavor boost.
Textural Twists:
- Nut Butter 2.0: Don’t settle for one texture! Pulse in chopped nuts or seeds for a chunky, granola-like crunch. Blend in roasted chickpeas or lentils for a protein-packed, hummus-inspired twist.
- Creamy Dream Team: For the ultimate smooth operator, try adding soaked nuts before blending. Soaked almonds or cashews create a luxuriously velvety texture.
- Frozen Fury: Pulse in frozen fruit like bananas or berries for a refreshing, smoothie-like texture. Perfect for hot summer days or a healthy snack with a fruity twist.
Presentation Perfection:
- Jar It Up: Ditch the boring store-bought jars! Invest in beautiful, reusable containers and personalize them with labels that showcase your unique creations. Think mason jars with chalkboard paint, vintage teacups, or even colorful glass jars.
- Garnishing Genius: Don’t just serve it plain! Drizzle with honey and sprinkle with chopped nuts, seeds, or even edible flowers for a visually stunning presentation.
- Snack Time Transformation: Elevate your snack game! Spread your nut butter on apple slices, celery sticks, or rice cakes for a healthy and delicious treat. Or, use it as a dip for fruit or veggie skewers.
Remember: There are no limits in the world of nut butter! Experiment, combine flavors, play with textures, and most importantly, have fun! Your taste buds and your blender will thank you.
Bonus Tip: Consider attending a local nut butter-making workshop to learn from the masters and discover new techniques and flavor combinations.
Nut Butter Nirvana FAQ: Answers to Your Creamy Creation Conundrums!
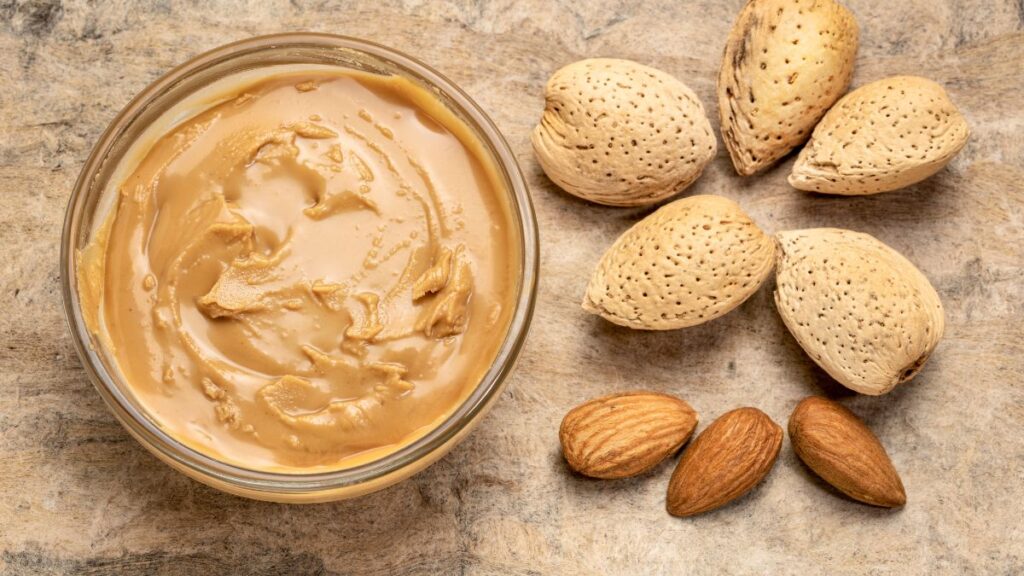
Q: What are the best nuts to use for homemade nut butter?
A: Almonds, cashews, and peanuts are classics for a reason! They’re oily and blend smoothly. But don’t be shy! Experiment with pecans, walnuts, sunflower seeds, or even tahini for unique flavors and textures.
Q: Do I need to roast the nuts before blending?
A: Roasting deepens the flavor and releases oils for easier blending. 350°F for 10-15 minutes is the magic number! Peeling almonds and cashews is optional, but it creates a smoother butter.
Q: How can I prevent my nut butter from separating?
A: Pulse, don’t blend! Short bursts prevent over-blending and oil separation. Add a touch of neutral oil like avocado or grapeseed if needed, but start with a teaspoon and go slow.
Q: What can I add to my nut butter for extra flavor?
A: The world is your oyster! Honey, maple syrup, or spices like cinnamon or smoked paprika are classic choices. Get adventurous with chilies, ginger, or even berries for a fruity twist.
Q: My blender isn’t powerful enough for some nuts. What can I do?
A: Pre-chop tougher nuts like almonds or pecans. Invest in a higher-wattage blender for heavy-duty blending.
Q: How do I clean my blender after making nut butter?
A: Don’t let the aftermath dampen your nutty joy! Fill halfway with warm water and dish soap, pulse, and rinse. Stubborn bits? Soak the blades in a baking soda solution.
Q: Can I store homemade nut butter?
A: Absolutely! Transfer it to an airtight container and store in the pantry for up to two weeks. Label it with the date and flavor notes, you’re a nut butter artist now!
Q: I have dietary restrictions. Can I still make nut butter?
A: Of course! Look for nut-free alternatives like sunflower seed butter or tahini. Many nut butter recipes can be adapted for vegan, paleo, or gluten-free diets.
Q: Where can I find more nut butter inspiration?
A: Check out recipe blogs, online communities, and social media for endless ideas! Don’t be afraid to experiment and create your own signature nut butter masterpieces.
3 thoughts on “Nut Butter Nirvana: 15 Pro Tips to Craft Creamiest Creations in Your Blender”
Comments are closed.