
Craving a luxurious dessert that’s easy on the effort but heavy on the wow factor? Look no further than the mighty blender chocolate mousse. Forget complicated whisking and double boilers – this recipe throws open the doors to silky-smooth chocolate heaven, all with the whirring magic of your trusty appliance.
Why the Blender Love?
- Simplicity Reigns: Ditch the stand mixer and spatulas. This recipe is all about tossing ingredients in and letting the blender work its magic – perfect for busy bakers or kitchen novices.
- Effortless Airiness: Blending incorporates tiny air bubbles, giving your mousse an impossibly light and fluffy texture that melts in your mouth.
- Rich Chocolate Symphony: The blender’s power ensures even melting, resulting in an intensely chocolatey experience without a hint of grainy bits.
Gather your culinary troops:
- Chocolate: Use good quality dark chocolate (around 70% cocoa solids) for a deep, complex flavor. Chop it into small pieces for even melting.
- Eggs: The yolks add richness and emulsify the mixture, while the whites contribute to the airy texture. Separate them beforehand.
- Heavy Cream: The key to that decadent whip! Ensure it’s cold for optimal whipping.
- Sweetener: Powdered sugar or honey work well. Adjust to your desired sweetness level.
- Flavor Boosters: Vanilla extract, espresso powder, or a pinch of sea salt can elevate your mousse to new heights.
The Grand Blending Act:
- Chocolate Meltdown: Toss the chopped chocolate and a splash of hot water (or coffee for a mocha twist!) into the blender. Pulse until smooth and glossy. This is your molten chocolate base – the heart of your mousse.
- Yolky Goodness: Add the egg yolks and sweetener to the blender. Blend until foamy and light yellow. This incorporates air and binds the mixture.
- Creamy Cloud: In a separate bowl, whip the cold heavy cream to stiff peaks. Gently fold it into the chocolate mixture using a spatula. Don’t overmix, or you’ll lose the airiness.
- Protein Party (Optional): For extra stability, you can whip the egg whites with a pinch of sugar until stiff peaks form. Fold them in gently alongside the cream.
- Chill Out: Divide the mousse among serving dishes and refrigerate for at least 2 hours, allowing it to set and intensify the flavors.
Serving Sensations:
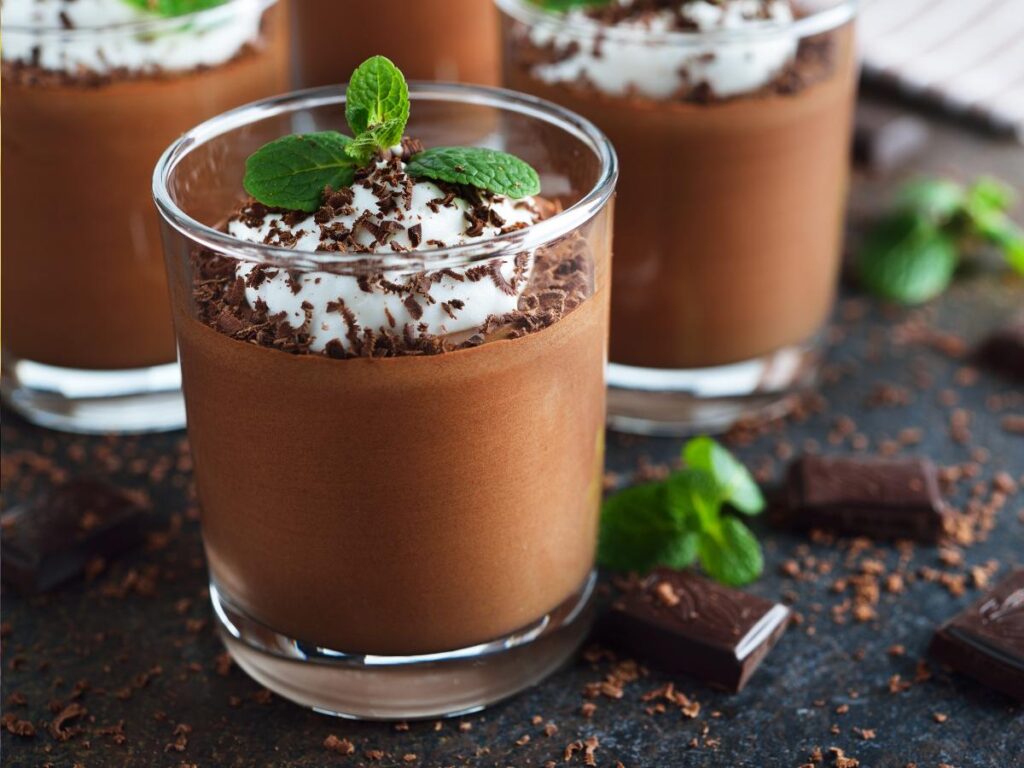
- Garnish with Grace: A sprinkle of cocoa powder, fresh berries, or a drizzle of caramel takes your mousse from basic to breathtaking.
- Get Fancy: Pipe the mousse into shot glasses for an elegant touch, or layer it with crumbled cookies for a playful parfait.
- Go Vegan: Substitute the eggs with aquafaba (chickpea brine) whipped to stiff peaks for a plant-based delight.
Tips & Tricks:
- Use room-temperature eggs for easier blending.
- Don’t over-blend the cream, or it might turn into butter!
- Chill your serving dishes for an extra-refreshing mousse experience.
- Get creative with flavors! Add spices like cinnamon or chili flakes for a personalized touch.
So, ditch the whisks and dust off your blender. With this recipe, you’re just a few whirls away from indulging in the most delightful chocolate mousse your taste buds have ever encountered. Remember, baking is an adventure – have fun, experiment, and most importantly, savor the sweet reward!
Chocolate mousse might be best known for its decadent taste and fluffy texture, but there are actually some surprising benefits to indulging in this delightful dessert. Here are a few to consider:
Potential Health Benefits:
- Rich in antioxidants: Dark chocolate, the main ingredient in many mousse recipes, is a good source of antioxidants like flavanols, which can help protect your cells from damage and reduce inflammation.
- Brain boost: Some studies suggest that flavanols may also improve cognitive function and memory.
- Mood improvement: Chocolate contains a small amount of tryptophan, a precursor to the mood-regulating neurotransmitter serotonin. Enjoying a moderate amount of chocolate may therefore have a mild mood-boosting effect.
- Source of nutrients: Dark chocolate can be a good source of minerals like magnesium, phosphorus, and copper.
- Protein power: If you use egg whites in your mousse recipe, you’ll be adding a bit of extra protein to your treat.
Other Benefits:
- Easy to make: Blender mousse recipes are notoriously simple, requiring minimal effort and kitchen tools.
- Dietary options: You can find vegan and paleo-friendly mousse recipes that cater to various dietary needs.
- Versatility: Mousse can be served plain, flavored with spices or liqueurs, or layered with other desserts for a more complex treat.
- Stress relief: Indulging in a delicious dessert like chocolate mousse can be a simple way to de-stress and enjoy a moment of pleasure.
Ultimately, the biggest benefit of chocolate mousse might just be the pure joy of indulging in a delicious and comforting treat. So go ahead, whip up a batch and savor the experience!
Frequently Asked Questions: Blending Your Way to Chocolate Mousse Bliss
Can you make chocolate mousse in a blender?
Absolutely! In fact, a blender is a fantastic tool for creating light, airy, and incredibly smooth chocolate mousse. It eliminates the need for whisking, double boilers, and tempering chocolate – making it a perfect recipe for busy bakers and chocolate enthusiasts alike.
What do I need to make blender chocolate mousse?
The core ingredients are simple: good quality dark chocolate, eggs, heavy cream, sweetener, and a touch of vanilla or other flavorings. You can also optionally add whipped egg whites for extra stability, or experiment with different chocolates and spices for your own twist.
How do I make sure my mousse is light and fluffy?
Here are some key tips:
- Use cold heavy cream: Whipping cold cream ensures maximum volume and stability.
- Don’t over-blend: Over-blending can break down the air bubbles, leaving you with a denser mousse. Pulse or blend just until smooth.
- Fold in the whipped cream gently: Use a spatula and a light touch to prevent deflation.
- Chill properly: Allow the mousse to set in the refrigerator for at least 2 hours before serving. This lets the flavors meld and the texture firm up.
Can I make vegan chocolate mousse in a blender?
Yes! Simply substitute the eggs with aquafaba (chickpea brine) whipped to stiff peaks. You can also use plant-based milk and dark chocolate for a completely vegan and delicious mousse.
What are some fun ways to serve blender chocolate mousse?
Get creative! Here are some ideas:
- Pipe the mousse into shot glasses or small ramekins for an elegant presentation.
- Layer it with crumbled cookies or fruit for a decadent parfait.
- Top it with fresh berries, whipped cream, or a drizzle of caramel sauce.
- Get festive and pipe different colored mousses into decorative shapes for holidays or special occasions.
I don’t have heavy cream, can I use something else?
While heavy cream is ideal for its richness and whipping ability, you can substitute it with full-fat coconut milk for a dairy-free option. However, keep in mind that the texture and flavor might be slightly different.
My chocolate isn’t melting smoothly in the blender, what do I do?
Make sure the chocolate is chopped finely and the water you add is hot. You can also pulse the blender a few times and scrape down the sides before adding the other ingredients.
I want a richer chocolate flavor, any tips?
Use a higher percentage cocoa solids chocolate (around 70% or more) for a deeper, more intense flavor. You can also add a pinch of espresso powder or chili flakes for a touch of intrigue.
1 thought on “Whip Up Decadent Bliss: How to Make Chocolate Mousse with Your Blender”
Comments are closed.