In the realm of kitchen appliances, few tools hold as much versatility and potential as the humble blender. From crafting smooth and refreshing smoothies to whipping up creamy soups and sauces, blenders have become indispensable companions for home cooks and culinary professionals alike.
But beyond the sleek exterior and powerful motor lies a complex interplay of components that work together to transform ingredients into culinary masterpieces. Let’s embark on a journey into the anatomy of blenders, unraveling the intricate workings of this kitchen powerhouse.
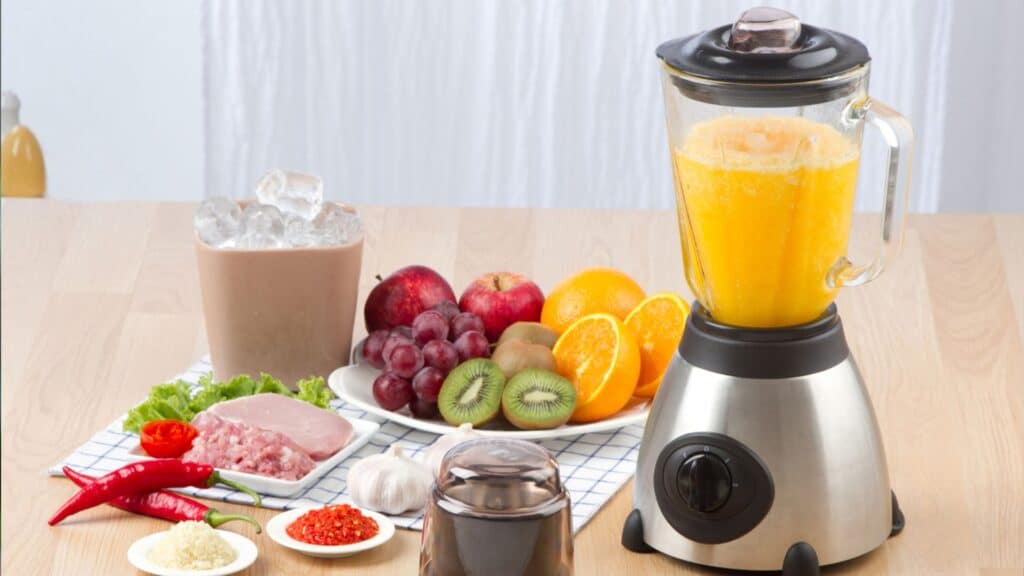
The Foundation: The Base and Motor
The base forms the bedrock of the blender, housing the powerful motor that drives the blades. This motor is the heart of the blender, responsible for generating the torque necessary to pulverize ingredients.
A robust motor is essential for tackling tough ingredients and ensuring smooth, consistent results.
The Heart: The Blades

The blades are the unsung heroes of the blender, responsible for the intricate chopping, crushing, and puréeing that transforms ingredients into culinary creations.
Made from durable stainless steel, the blades come in various designs, each tailored to specific tasks. From multi-angled blades for versatility to specialized blades for ice crushing, the design of the blades plays a crucial role in blending efficiency.
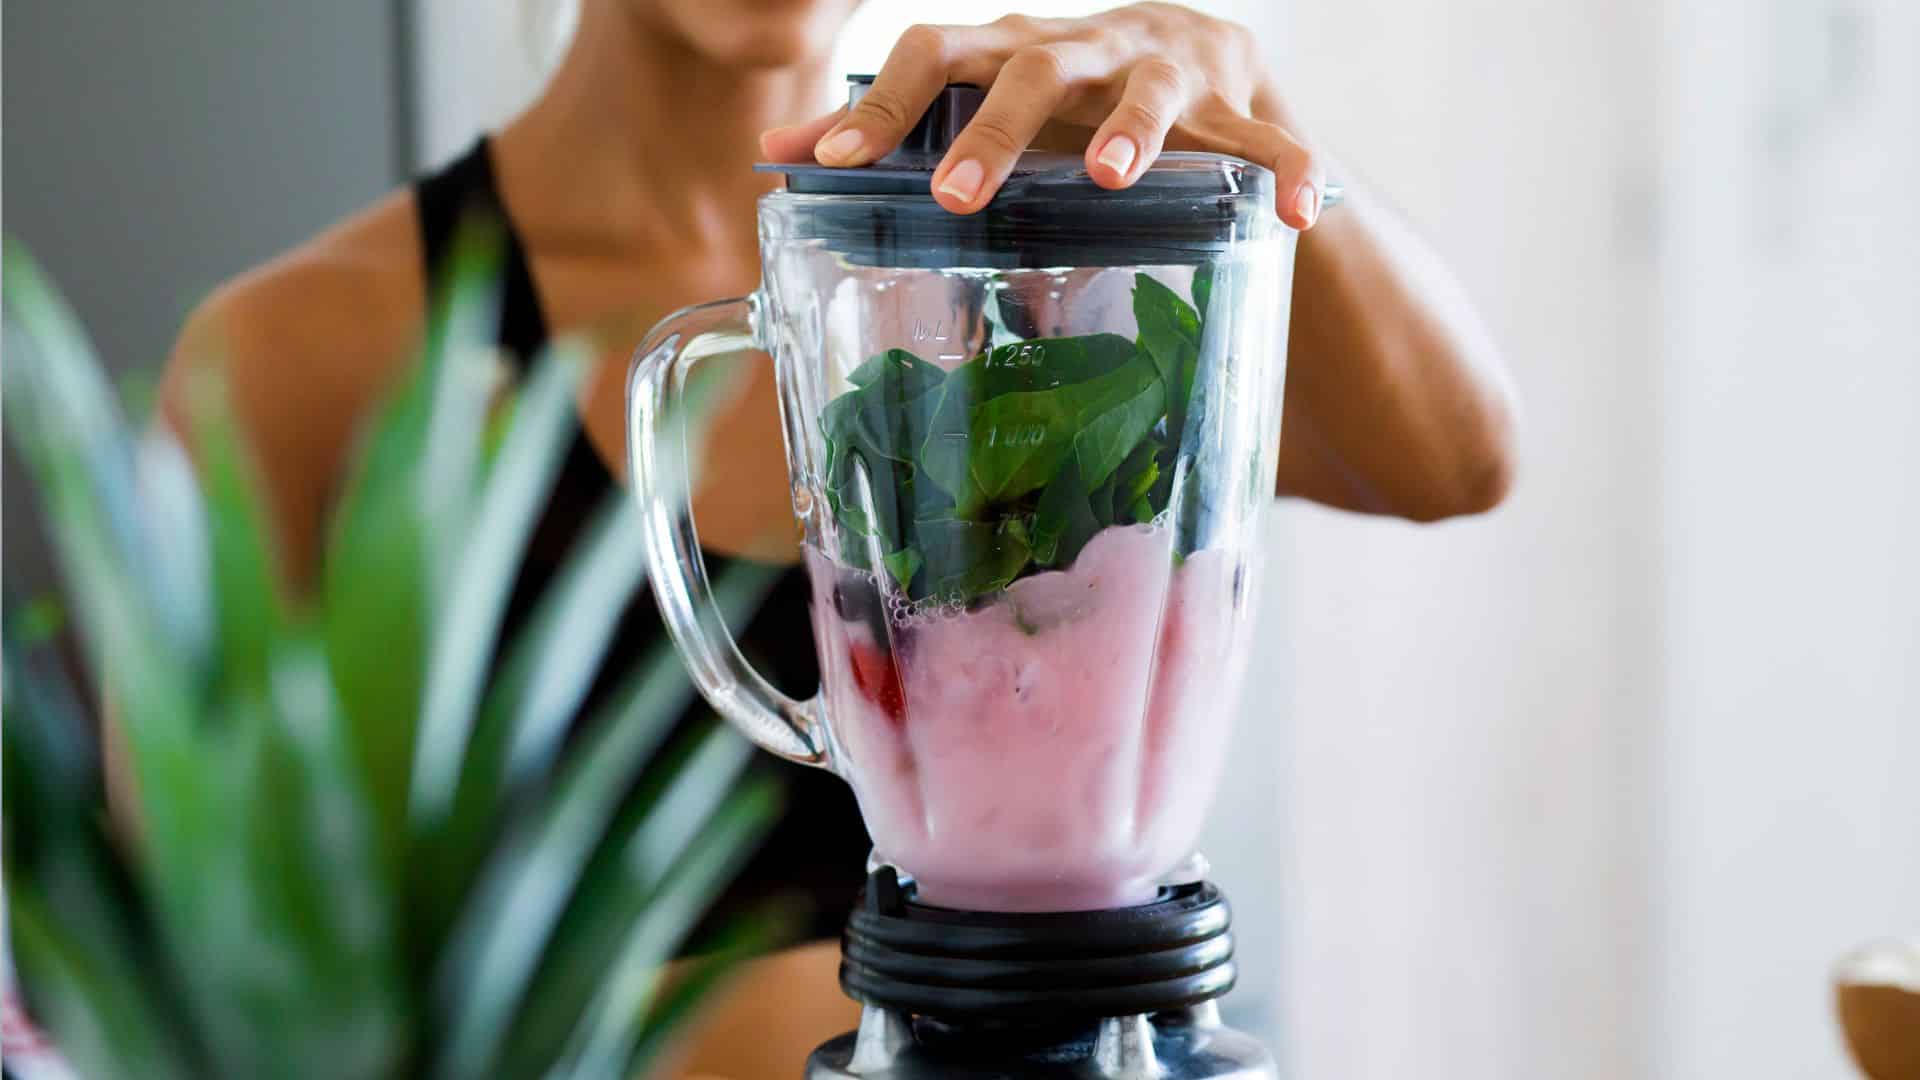
The Vessel: The Container
The container, often referred to as the pitcher, is the vessel that holds the ingredients awaiting transformation. Made from durable materials like glass or plastic, the container’s capacity determines the amount of ingredients that can be blended at once.
Choose a container size that suits your needs, whether it’s single-serve smoothies or large batches for meal prep.
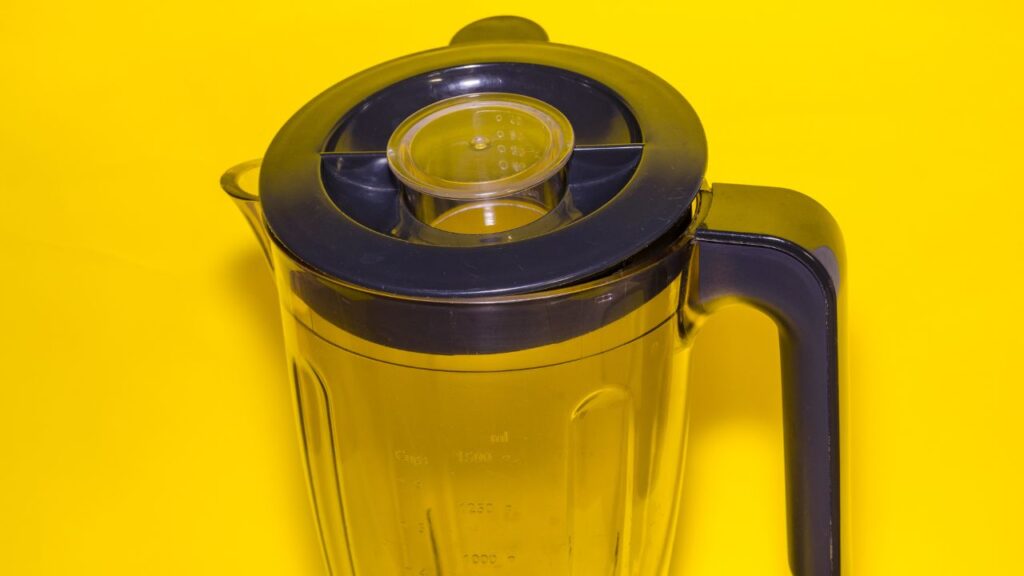
The Conductor: The Lid and Lid Cap
The lid seals the container, preventing ingredients from escaping during blending. It often features a measuring cup or small opening for adding ingredients while the blender is in operation. The lid cap, typically made of rubber or plastic, fits securely on top of the lid, ensuring a tight seal.
The Controls: The User Interface
The controls provide the interface for interacting with the blender, allowing users to adjust settings and initiate blending cycles. From simple toggle switches to sophisticated touch panels, the style and complexity of the controls vary depending on the blender model.
The Extras: Additional Components
Some blenders come equipped with additional components that enhance functionality and convenience. These may include:
- Tamper: A tool for pushing down ingredients that get stuck, ensuring even blending.
- Spout: A pouring spout for easy transfer of blended creations.
- Travel Cup: A portable container for on-the-go smoothies or shakes.
Optimizing Blending Performance: Tips for Maximizing Your Blender’s Potential

While understanding the anatomy of blenders provides a foundation for appreciating their capabilities, optimizing blending performance requires mastering the art of using these kitchen powerhouses effectively. Here are some practical tips to elevate your blending experience and ensure consistently smooth, delicious results:
- Pre-freezing for Smoothness: For consistently smooth smoothies and shakes, pre-freezing fruits and vegetables is a game-changer. Frozen ingredients not only prevent separation but also contribute to the overall texture, resulting in a thicker and creamier consistency.
- Layering for Even Blending: When dealing with ingredients of varying densities, layering them in the blender ensures even blending and prevents heavier ingredients from settling at the bottom. Start with lighter ingredients like leafy greens or liquids, followed by heavier elements like fruits or frozen ingredients.
- Harnessing the Pulse Function: The pulse function is a valuable tool for achieving the desired consistency, especially when dealing with delicate ingredients or achieving a chunky texture. Pulsing allows for controlled blending, preventing over-processing and preserving the integrity of your ingredients.
- Utilizing the Tamper for Stubborn Ingredients: For stubborn ingredients that resist blending, the tamper can be a lifesaver. The tamper helps push ingredients down into the blades, ensuring even blending and preventing the blender from getting stuck.
- Cleaning as You Go for Freshness: Blenders are notorious for harboring unpleasant odors and lingering flavors if not properly cleaned. To avoid lingering smells and tastes, rinse out the blender immediately after use. For a deeper clean, fill the blender halfway with water, add a drop of dish soap, and blend on the highest setting for a few seconds.
- Experimenting with Flavors for Culinary Creativity: Blenders provide a canvas for culinary creativity. Don’t be afraid to experiment with different flavor combinations, spices, and extracts to create unique and personalized concoctions.
- Exploring Alternative Ingredients for Culinary Versatility: Blenders can handle a wide range of ingredients beyond the typical fruits and vegetables. Experiment with incorporating herbs, spices, nuts, seeds, and even cooked grains to expand your culinary repertoire.
- Embracing Batch Cooking for Convenience: Blenders are perfect for batch cooking and meal prepping. Prepare large batches of smoothies, sauces, or soups and store them in individual containers for quick and convenient meals throughout the week.
- Enhancing Presentation for Visual Appeal: Elevate your culinary creations with appealing presentation. Garnish smoothies with fresh fruits, granola, or seeds. Drizzle sauces or dressings over salads or entrees.
- Enjoying the Process for Culinary Fulfillment: Blending should be an enjoyable and creative experience. Embrace the process, experiment with different ingredients and techniques, and have fun creating your culinary masterpieces.
By following these tips and techniques, you can transform your blender into a culinary powerhouse, unlocking a world of possibilities and enhancing your everyday kitchen adventures.
Conclusion: A Culinary Companion
Blenders have become indispensable kitchen companions, offering versatility, power, and ease of use. Understanding the anatomy of blenders, from the powerful motor to the intricate blades, empowers home cooks and culinary professionals to harness the full potential of these kitchen powerhouses, transforming everyday ingredients into extraordinary creations.
So, the next time you reach for your blender, appreciate the intricate interplay of components that work together to bring culinary magic to life.
FAQ of Delving into the Anatomy of Blenders: Understanding the Components of a Kitchen Powerhouse:
What are the main components of a blender?
A blender is composed of several key components that work together to transform ingredients into culinary creations:
- Base and Motor: The base houses the powerful motor, the heart of the blender, responsible for generating the torque necessary to pulverize ingredients.
- Blades: The blades, made from durable stainless steel, come in various designs, each tailored to specific tasks, ensuring efficient blending.
- Container: The container, often referred to as the pitcher, holds the ingredients awaiting transformation. Made from durable materials like glass or plastic, its capacity determines the amount of ingredients that can be blended at once.
- Lid and Lid Cap: The lid seals the container, preventing ingredients from escaping during blending. The lid cap, typically made of rubber or plastic, fits securely on top of the lid, ensuring a tight seal.
- Controls: The controls provide the interface for interacting with the blender, allowing users to adjust settings and initiate blending cycles.
What are some tips for optimizing blender performance?
To maximize your blender’s potential and achieve consistently smooth, delicious results, follow these tips:
- Pre-freeze ingredients for smoothies and shakes to enhance texture and prevent separation.
- Layer ingredients in the blender for even blending, starting with lighter elements like leafy greens or liquids, followed by heavier ingredients like fruits or frozen items.
- Utilize the pulse function for controlled blending, especially when dealing with delicate ingredients or achieving a chunky texture.
- Employ the tamper to push down stubborn ingredients for even blending and prevent the blender from getting stuck.
- Clean the blender immediately after use to avoid lingering odors and flavors.
What are some creative ways to use a blender?
Beyond the classic smoothies and shakes, blenders offer a world of culinary possibilities:
- Create creamy soups and sauces by puréeing roasted vegetables, cooked beans, or even raw ingredients.
- Make homemade nut butters, hummus, and other spreads by blending nuts, seeds, or beans with a touch of oil or sweetener.
- Whip up dips and dressings by combining fresh herbs, spices, and oils.
- Prepare baby food by steaming or cooking fruits, vegetables, and meats, then blending them to a smooth consistency suitable for your baby’s age.
How can I enhance my kitchen adventures with a blender?
Blenders can transform everyday cooking into exciting culinary adventures:
- Embrace batch cooking and meal prep by preparing large batches of smoothies, sauces, or soups for quick and convenient meals throughout the week.
- Experiment with different flavor combinations, spices, and extracts to create unique and personalized concoctions.
- Explore alternative ingredients beyond the typical fruits and vegetables by incorporating herbs, spices, nuts, seeds, and even cooked grains.
- Elevate your culinary creations with appealing presentation by garnishing smoothies with fresh fruits, granola, or seeds, or drizzling sauces or dressings over salads or entrees.
- Enjoy the process of blending by experimenting with different ingredients and techniques, allowing creativity to flourish in the kitchen.
1 thought on “Delving into the Anatomy of Blenders: Understanding the Components of a Kitchen Powerhouse”
Comments are closed.